Categories
Education Health Care Heath

How To Remove Fake Tan Stains

Fake tan stains can be frustrating, whether they result from a self-tanning mishap or a spray tan gone wrong. These unsightly streaks and splotches often linger longer than we’d like. Fortunately, effective methods exist to rid your skin of these telltale signs of a faux glow gone awry.

This concise guide will delve into practical steps and readily available solutions to help you swiftly and efficiently remove fake tan stains. Say goodbye to those unwanted orange patches, and get ready to reclaim your flawless skin with these proven techniques.


Pre-Removal Preparations 


Before tackling fake tan stains, assembling the right tools and products is crucial. Here’s a checklist of items you’ll need:

  1. Exfoliating gloves or scrubbing brush: These will aid removal.
  2. Natural exfoliants: Baking soda or lemon juice.
  3. Hydrogen peroxide or vinegar (optional): For tougher stains.
  4. Moisturizer: To soothe your skin post-treatment.
  5. A soft towel: To pat your skin dry gently.
  6. Sunscreen: To protect your skin afterward.


Before starting the removal process, consider these precautions:


  1. Perform a patch test: Test the chosen stain-removal method on a small skin area to ensure you don’t have an adverse reaction.
  2. Avoid open wounds or sensitive areas: Don’t apply stain removers to cuts, bruises, or sensitive regions, as they may irritate.
  3. Remove jewelry: Remove accessories to prevent staining or damage.
  4. Work in a well-ventilated area: If using chemical solutions, ensure good airflow to minimize inhaling fumes.

Understanding your skin type is crucial when removing fake tan stains. Different skin types react differently to stain-removal methods. Oily skin may tolerate more robust solutions, while sensitive skin requires gentler approaches. Consider your skin’s unique needs and sensitivities to achieve the best results and avoid potential irritations or complications.


Methods for Removing Fake Tan Stains 


Dry Brushing:


  1. Dry brushing involves gently exfoliating the skin with a natural bristle brush. This method removes the top layer of tanned skin cells, helping to fade tan stains gradually.
  2. To use dry brushing effectively, start with dry skin and a dry brush. Begin at your feet and brush upward in long, gentle strokes, always moving towards your heart. Pay extra attention to stained areas, but avoid scrubbing too vigorously to prevent skin irritation.

Scrubs and Exfoliating Gloves:


  1. Scrubs containing abrasive particles or exfoliating gloves offer mechanical exfoliation to remove dead skin cells and tan stains.
  2. Apply the scrub or wear the exfoliating gloves in the shower on wet skin. Gently massage the product over stained areas using circular motions. Rinse thoroughly. Avoid over-scrubbing since this might irritate the skin.


Lemon Juice:


  1. Lemon juice’s natural acidity helps break down the fake tan pigment. It gradually fades the tan stain.
  2. To use lemon juice, apply fresh lemon juice directly to the stained areas using a cotton ball or your fingers. Leave it on for a few minutes, then rinse off. If you have sensitive skin, avoid using lemon juice. Always follow with moisturizer and sunscreen.


Baking Soda:

  1. Baking soda has mild abrasive properties that aid in removing fake tan stains.
  2. Mix baking soda with water to form a thick paste. Apply the paste to stained areas and gently 

rub in a circular motion. Rinse off with warm water and pat dry. Be gentle to avoid skin irritation.


Hydrogen Peroxide:


  1. Hydrogen peroxide can effectively bleach away fake tan stains due to its oxidizing properties.
  2. Dilute hydrogen peroxide with water in a 1:1 ratio. Apply the mixture to stained areas using a cotton ball or pad. Leave it on for a few minutes, then rinse off with water. Avoid using concentrated hydrogen peroxide on the skin, as it can be harsh. Moisturize after treatment.


Vinegar:


  1. Vinegar’s acidic properties help break down the fake tan pigment and exfoliate the skin.
  2. Dilute white vinegar with water in a 1:1 ratio. Apply the solution to stained areas using a cotton ball. Leave it on for a few minutes, then rinse off. Vinegar has a strong smell, so be prepared for that. Follow with moisturizer.


Commercial Fake Tan Removers:


  1. Various fake tan removers are available on the market, typically formulated to break down and effectively remove tan pigment.
  2. Follow the instructions provided on the product. Usually, you’ll apply the remover to the stained areas, wait for a specified time, and then wipe or wash it off. These products are designed to be gentle on the skin while effectively removing the tan. Always perform a patch test first to check out any unwanted effects.


CAUTION: Choose the method that suits your skin type and preferences, and remember to be patient and gentle when removing fake tan stains.


To Conclude


In conclusion, tackling fake tan stains requires the proper methods: exfoliation, natural remedies, and commercial solutions. Patience and persistence are key. Share your tips and experiences, and remember, flawless skin is achievable after a fake tan mishap.
Categories
Beauty Health Care

How to Build an Anti-aging Skin Care Routine

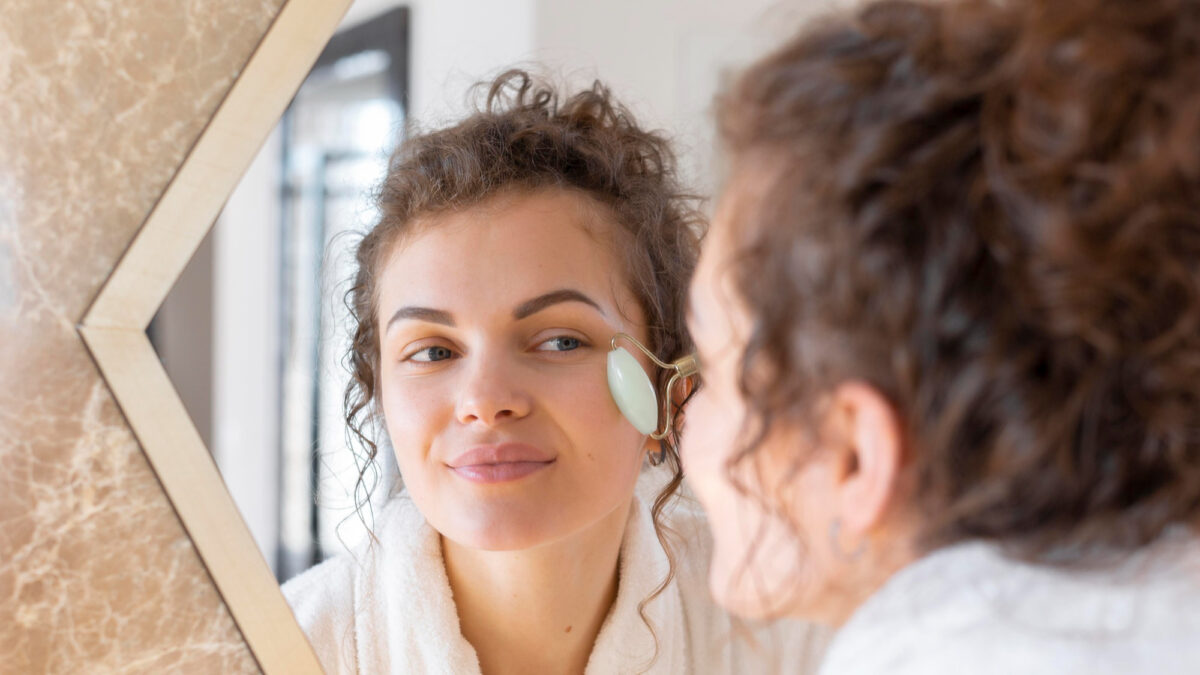
Creating an effective anti-aging skincare routine involves picking the right products and practices to promote youthful and healthy skin. This regimen focuses on prevention and maintenance to reduce aging symptoms such as wrinkles and fine lines. Individuals can build a balanced routine that helps maintain a vibrant young complexion over time by including crucial factors such as cleansing, exfoliation, hydration, sunscreen, and specialized treatments. 

Although consulting a dermatologist is advised for specific concerns, we’ve crafted a basic anti-aging routine. Our morning and nighttime routines are foundational steps for youthful and healthy skin.


How do I start a daily skincare routine?

For optimal daily skincare, follow the three essential steps recommended by our trusted dermatologist, Dr. Ashley Magovern. Begin with cleansing, then move on to treating, and finally, moisturizing. While cleansing and moisturizing are familiar, “treating” involves addressing specific concerns

Integrating serums is crucial to achieving a healthy complexion. These serums contain beneficial ingredients like vitamin C, retinol, or alpha hydroxy acids and are tailored to your skin type and desired outcomes. Dr. Magovern emphasizes that this intermediate step significantly impacts skin health, appearance, and aging.


Simple Steps to an Anti-aging Skincare Routine


 Let’s dive into some simple steps to make your skincare regimen easy and stress-free!


  1. Cleanse with a Gentle Cleanser 


After eight hours, accumulated skin oil may produce oily skin in the morning. Rejuvenate your skin by using a soothing facial cleanser. For regulated skin, choose a cleansing cream that does not dry out the skin. Use tepid water for morning cleansing and a revitalizing start to the day. Include a toner without alcohol for congested or acne-prone skin. Using a cotton ball, apply toner after cleansing to remove excess sebum and tighten pores, resulting in smoother skin. As part of your daily anti-aging regimen, this routine benefits morning and nighttime hygiene.


  2. Apply anti-aging serums

Following cleansing, give your skin the specialized anti-aging care it craves with serums. Opt for a vitamin C booster or hyaluronic acid serum. A vitamin C booster is a potent solution that combats wrinkles, dark spots, uneven tone, and pores, resulting in a brighter and more radiant complexion. Choose a hyaluronic acid serum to lock in moisture for sustained hydration, plumping the skin and diminishing fine lines. Remember, pat—don’t rub—any anti-aging serum onto your skin for optimal application. Hydration is crucial in fighting aging, making these serums valuable additions to your routine.


  3. Put on the Eye Cream


Eye creams differ from facial creams due to their specialized formulation for the delicate and rapidly aging eye area. In the “treat” category, these products address fine lines, wrinkles, loss of elasticity, dark circles, and undereye bags. Niacinamide or vitamin C is effective against dark circles, while caffeine diminishes edema. Peptides and retinol are anti-wrinkle agents. Vitamin K lightens dark circles under the eyes, while hyaluronic acid hydrates. Dermatologists recommend combining these ingredients to address various ocular area concerns effectively. Choose an eye treatment product designed according to your requirements for optimal results.


  4. Add Moisturizer to Minimize Visible Signs of Aging

Moisturizing is a crucial step in anti-aging skincare, with a peptide cream playing an essential part in the morning routine. This potent formula effectively reduces the appearance of fine lines, increases skin firmness, and prevents moisture loss. After applying serums and cleansing, massage the moisturizer onto your face and neck, working outward from the center. If time permits, give yourself a quick facial massage at home to set a positive tone for the day. This ritual provides skin benefits and a measure of personal pampering, ensuring a revitalizing start and a glowing outlook.


  5. Finish with Sunscreen to Prevent Sun Damage


Applying sunscreen isn’t solely for long beach days; it holds year-round anti-aging benefits. Protection against UVA and UVB rays prevents sun damage, a leading cause of premature aging. Post-moisturizing, apply a light facial sunscreen to safeguard your skin. Consider one with built-in SPF for added protection if you use a foundation. This proactive approach ensures your skin’s defense against the elements and guards against the effects of sun exposure, promoting lasting, youthful skin.


Let your Skin Shine

Crafting an anti-aging skincare routine is a commitment to long-term skin health. By embracing cleansing, specialized serums, eye treatments, and effective moisturization, you fortify your skin’s defenses against the signs of aging. Adding sunscreen to your daily regimen further safeguards your efforts. These simple yet impactful steps, designed to cater to your skin’s unique needs, cultivate a foundation for radiant, youthful skin. With consistency and patience, you can trust that this routine will help you maintain your skin’s vitality and embrace the beauty of aging gracefully.


Exit mobile version